Download a PDF version of this.
Note: The first few instructions below are for the initial connection from the CalAmp 4230 device to MDT7-P Tablet. The connection of the CalAmp 4230 to MDT7-P uses a physical serial connection, therefore it does not require Bluetooth.
Step 1 – Connect the CalAmp 4230 to MDTP-7 using the cable adapter
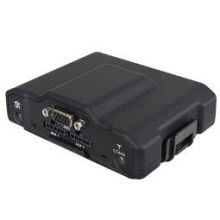

- Connect the 5 pin adapter to AUX 1 in the CalAmp 4230 device.
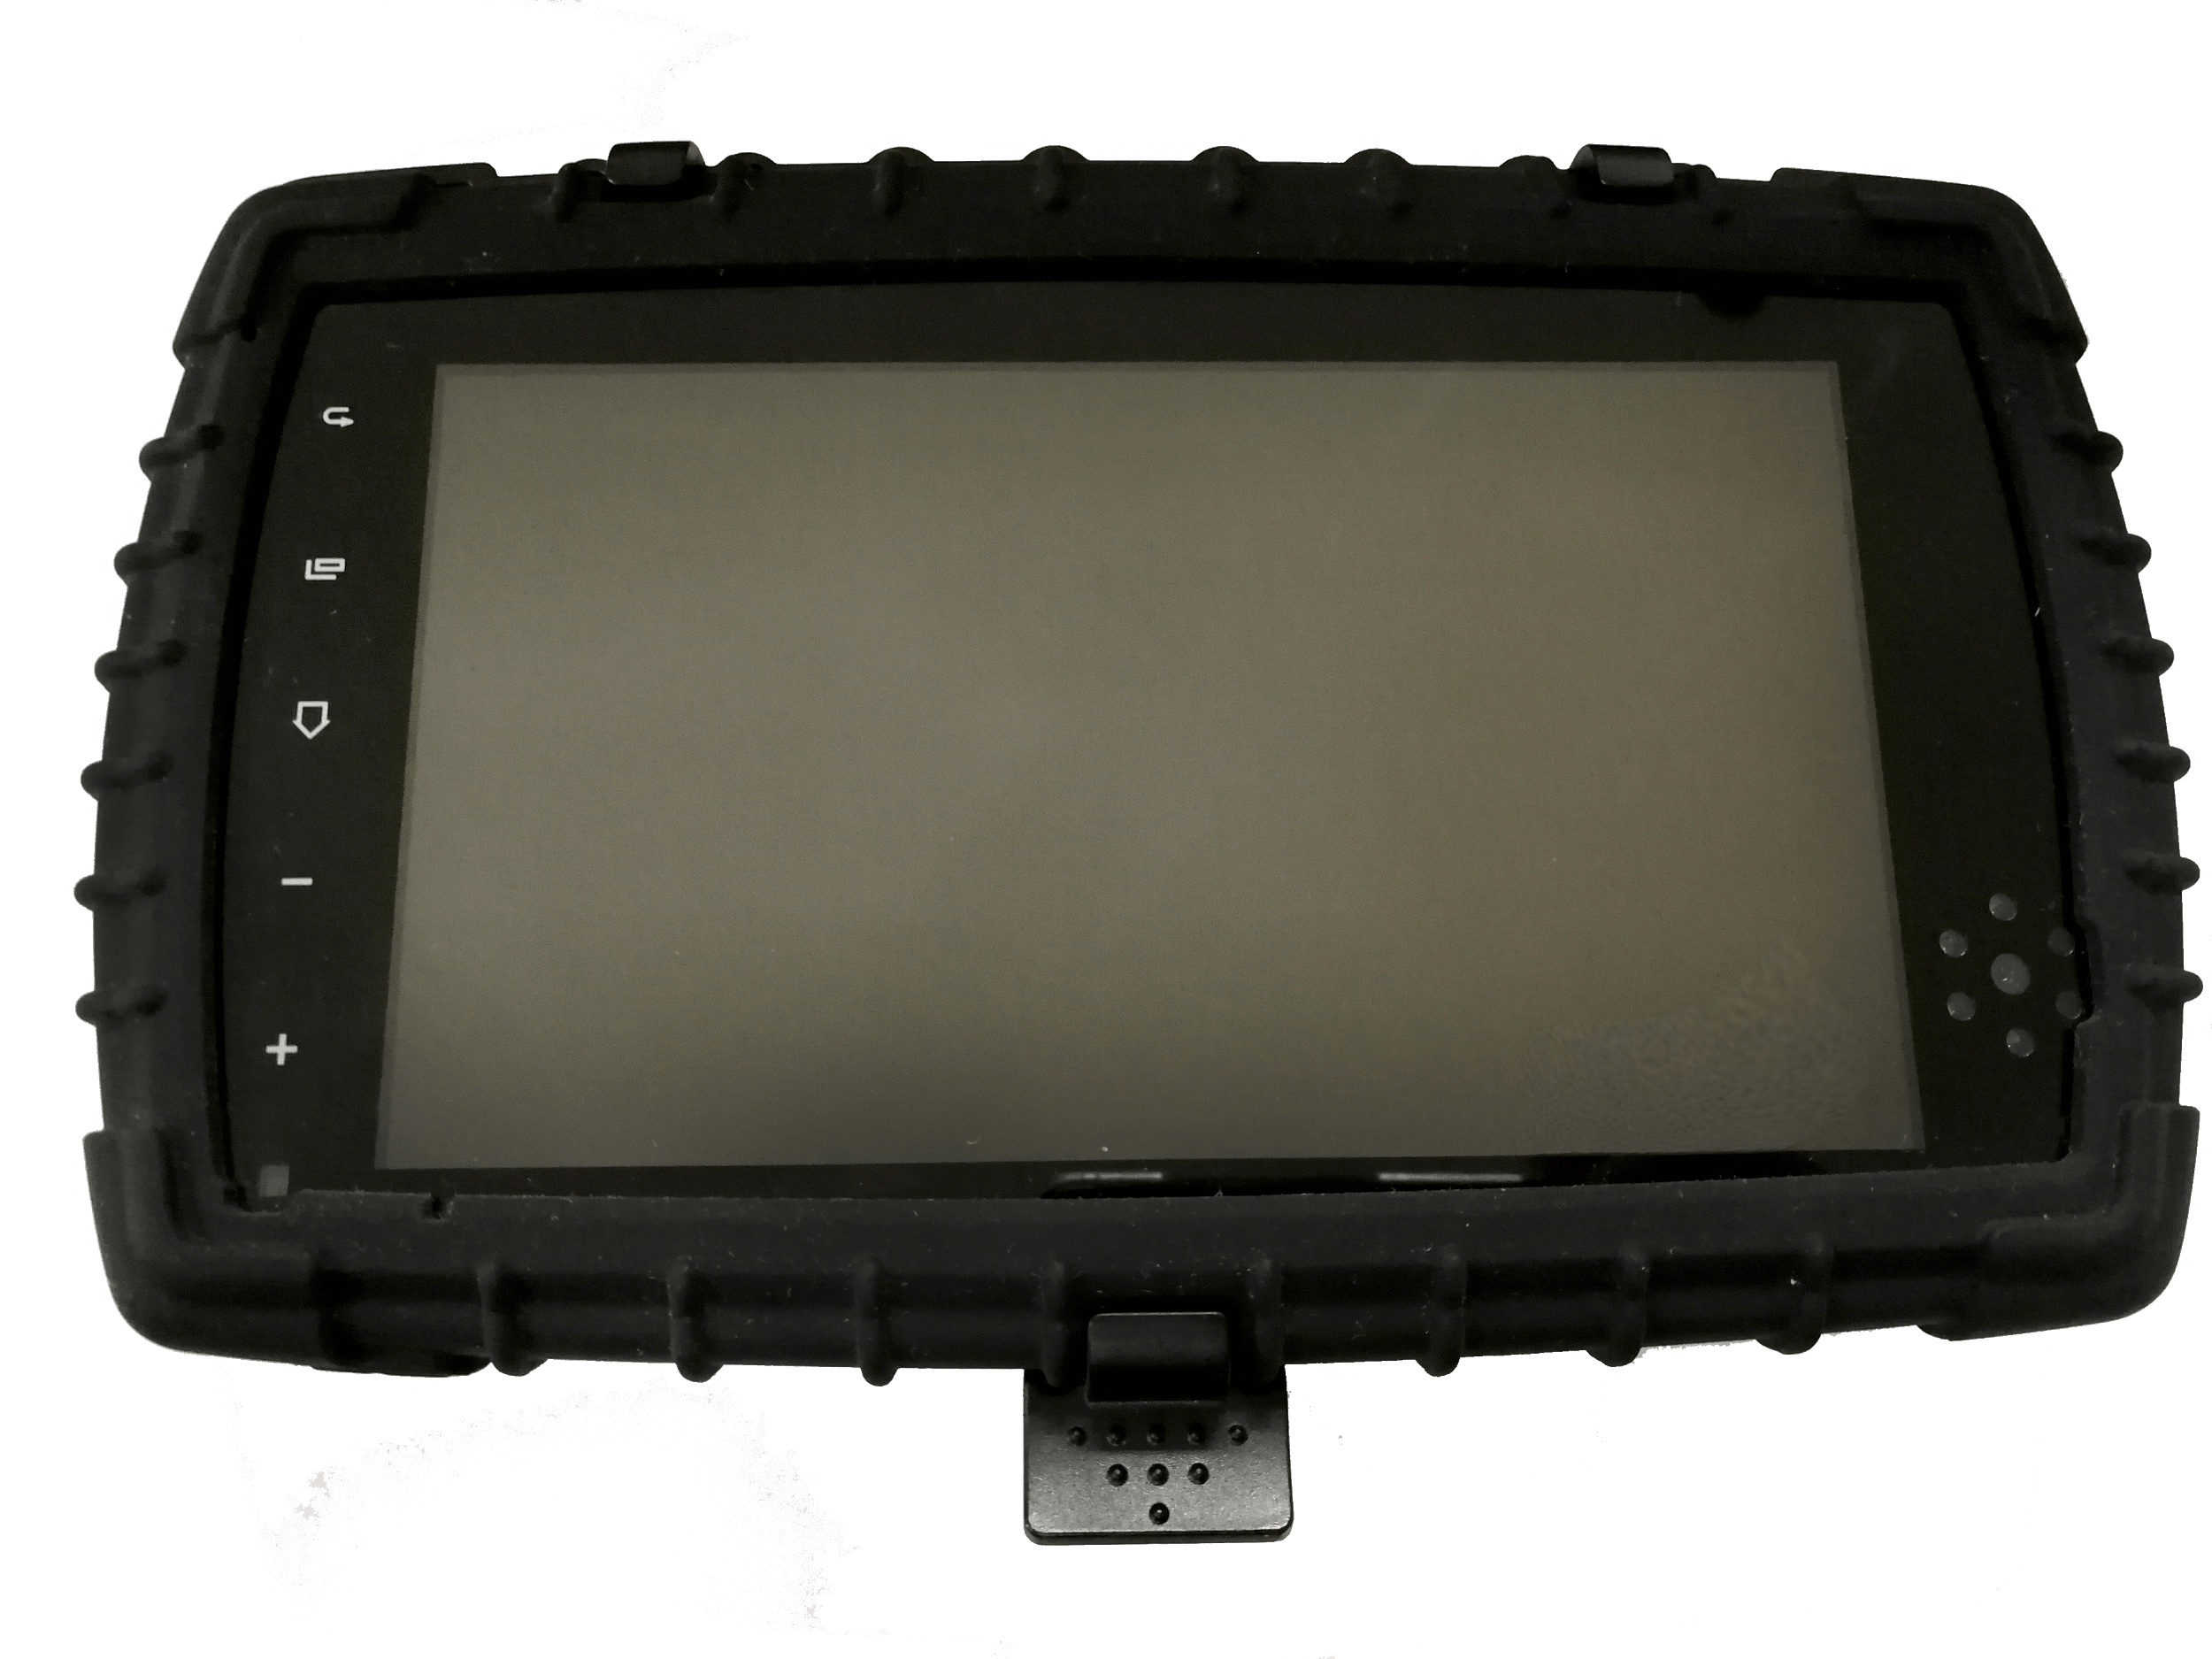
- Connect the other end of the adapter at the back of MDT7-P device
- The device plugs directly into the JBUS adapter cable. After the device is plugged into the socket, the yellow and red LED starts blinking with 1Hz rate. This means the device is powered and operational.
Step 2 – Use the Azuga ELD Mobile App with MDT7-P tablet.
- Open Azuga ELD app (or Branded App)
- Tap on the VBUS icon (or Tap the Connect button on the Connection bar)

- At this point, 2 options were present in order to establish a connection to the VBUS device: Manual Connection and Auto Connection.
- Manual Connection
- Tap on the Manual Connection button
- Select VBUS Device – CalAmp 4230 Hardwired
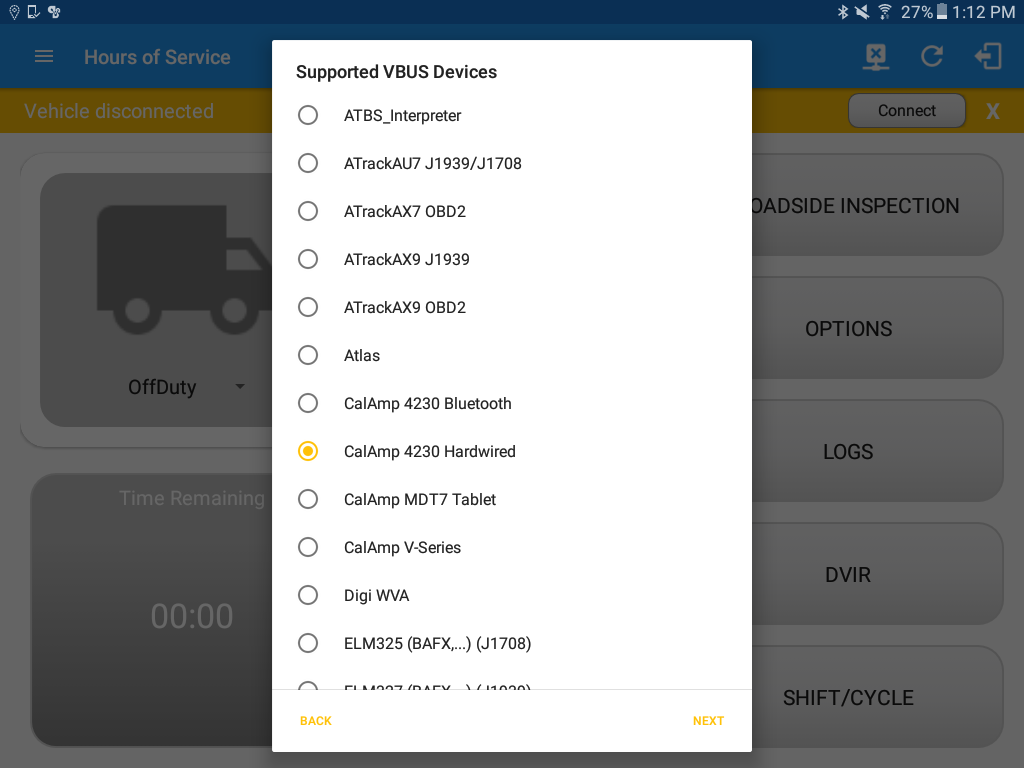
- Tap on the Next button
- A VBUS Progress dialog will then displayed.
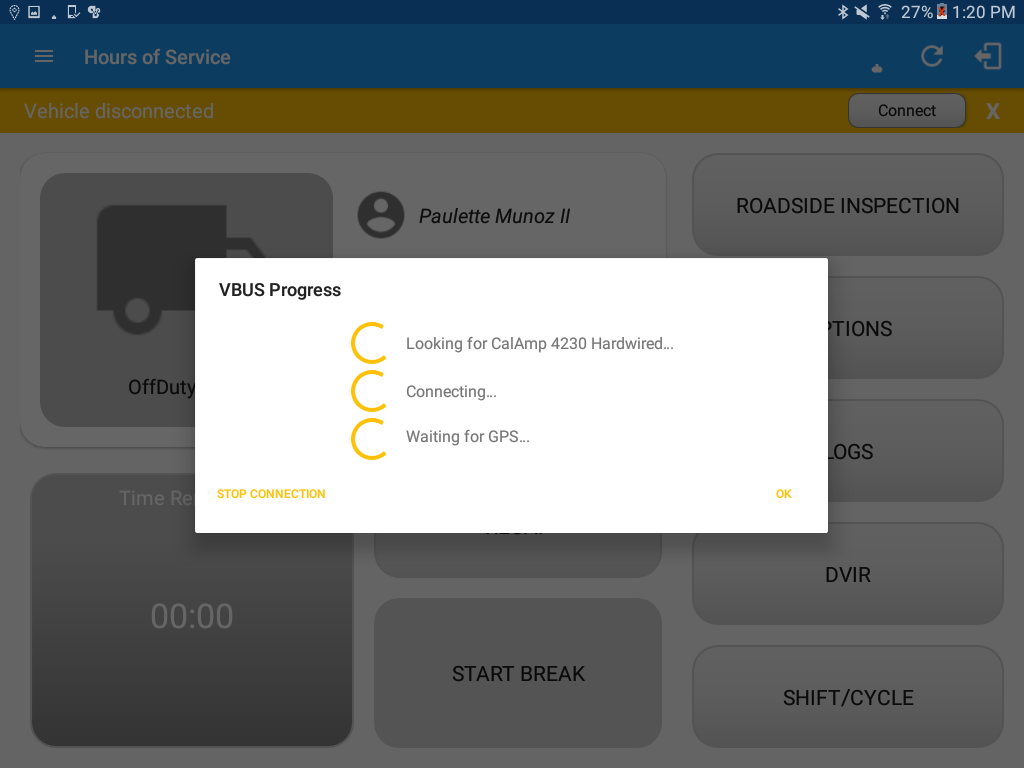
- It will then display the VBUS Progress dialog while attempting to establish a connection to the selected VBUS device along with a ‘Stop Connection’ and ‘Ok’ buttons
- Tap ‘Stop Connection’ button to stop establishing the VBUS connection.
- Tap OK button to hide the VBUS Progress dialog while establishing VBUS connection.
- Manual Connection
► If the VBUS connection results to an error (given the following situations below), an error dialog will display.
- VBUS Connection Error
- Interrupted Internet Connection
- VBUS Power Failure
- No ELD data received from the device in a specified time frame.
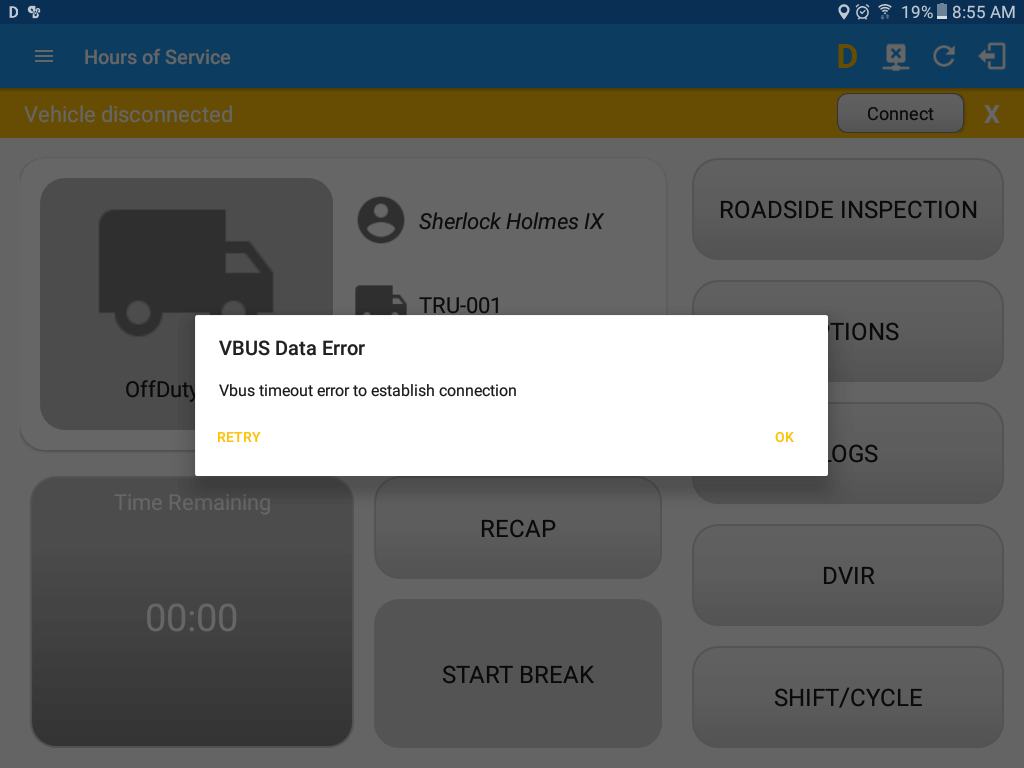
Note: The app automatically disconnects from the device after attempting connection for 1 minute and 30 seconds without receiving any data from the VBUS device.
- After a successful VBUS connection, You will hear a tone letting you know that device is now connected.
- To check if you are connected, go to the Android Notification Bar and you should see the following message.
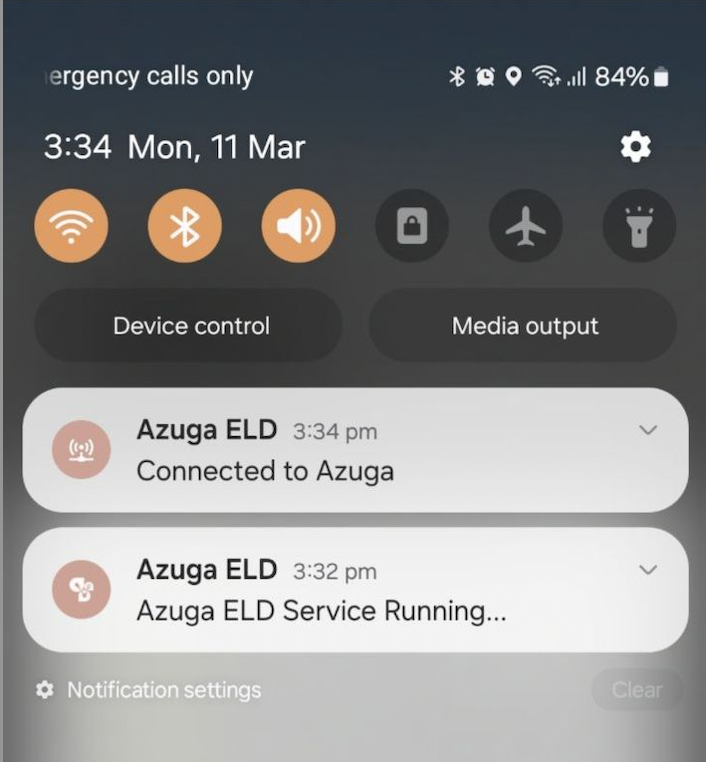 Check also that the VBUS indicator is now changed to a WiFi icon (during successful connection)
 - The device and the application are now connected.
- b. Auto Connection
- Tap on the Connect button
- The VBUS Progress dialog will then display
- Upon establishing a connection to the VBUS device, You should hear a tone letting you know that device is now connected.
- Prerequisites to successfully perform Auto Connection
- Create a Preconfigured device in the Portal’s Equipment Management Page or in the App’s Manage Vehicles/Trailers screen
- Set the ELD Configurations
- Prerequisites to successfully perform Auto Connection
- b. Auto Connection