Download a PDF version of this.
- Open Azuga ELD app (or Branded App)
- Login to the app using a driver user account
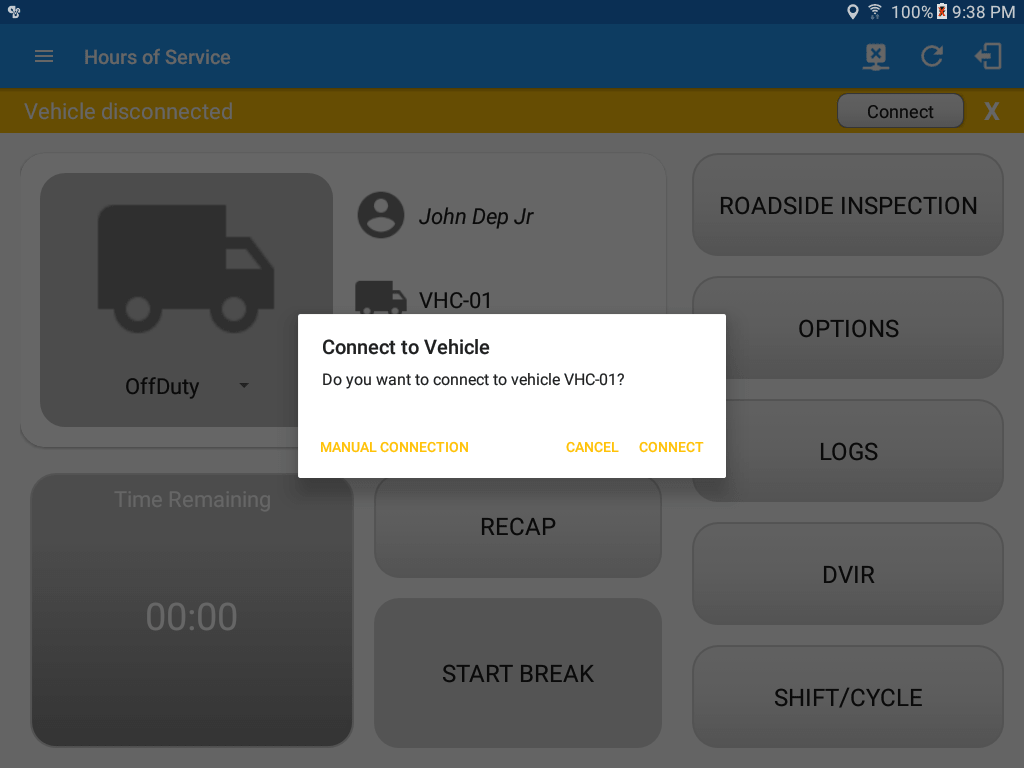
- On the main dashboard, tap the ‘Connect’ button which is located below the app header to display the ‘Connect to Vehicle’ dialog.
- At this point, 2 options were present in order to establish a connection to the VBUS device: Manual Connection and Auto Connection.
- Manual Connection
- Tap on the ‘Manual Connection’ button
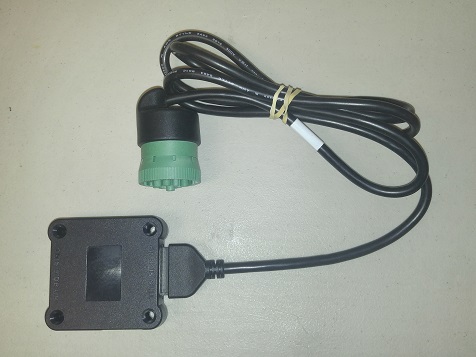
- Select VBUS Device – Atlas

- Tap on the Next button
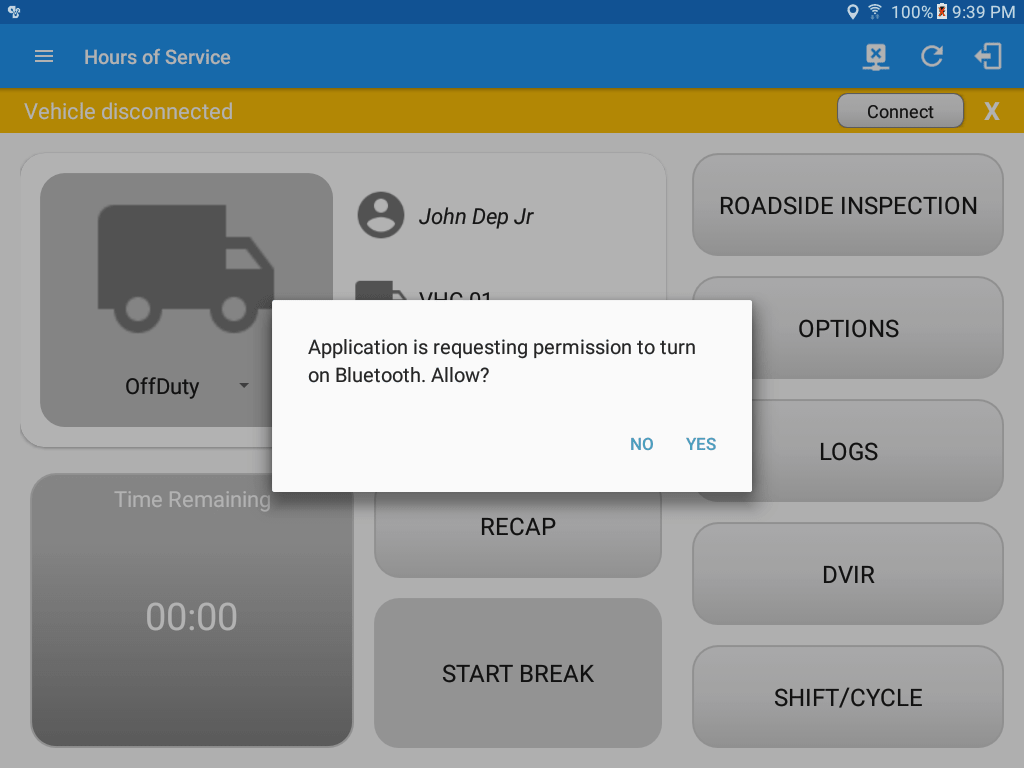
- If the Bluetooth of the device is disabled, the ‘Bluetooth Permission Request’ dialog will be displayed.
- Tap on the Yes button to enable the Bluetooth of the device
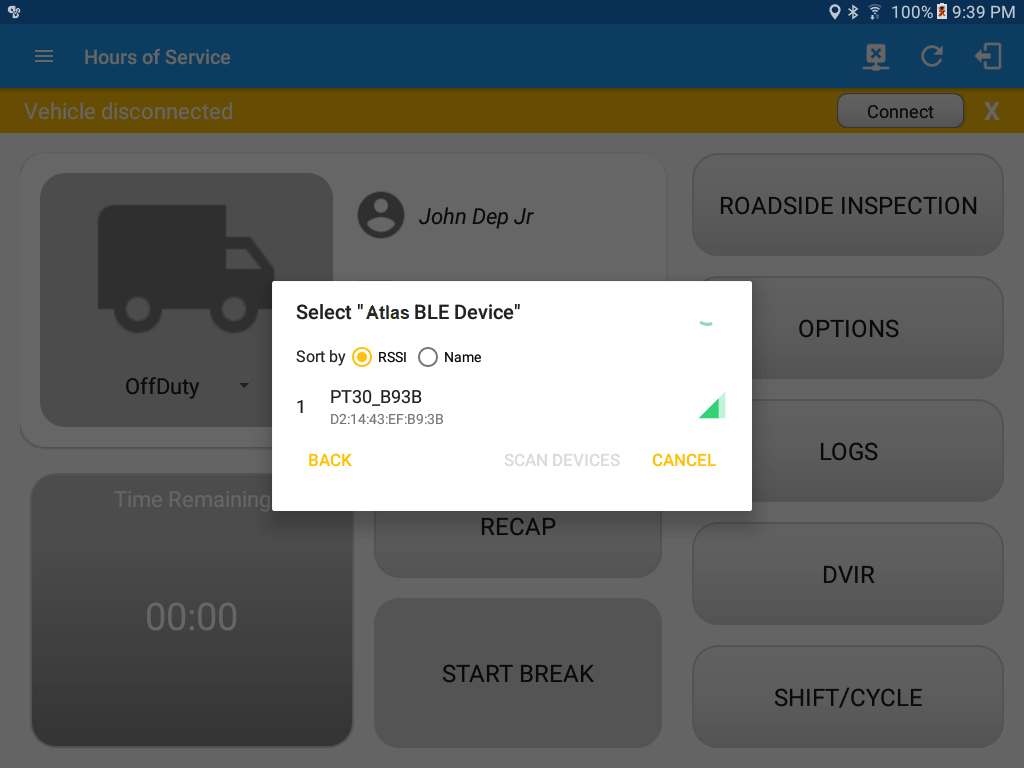
- Choose the correct Bluetooth device from the list
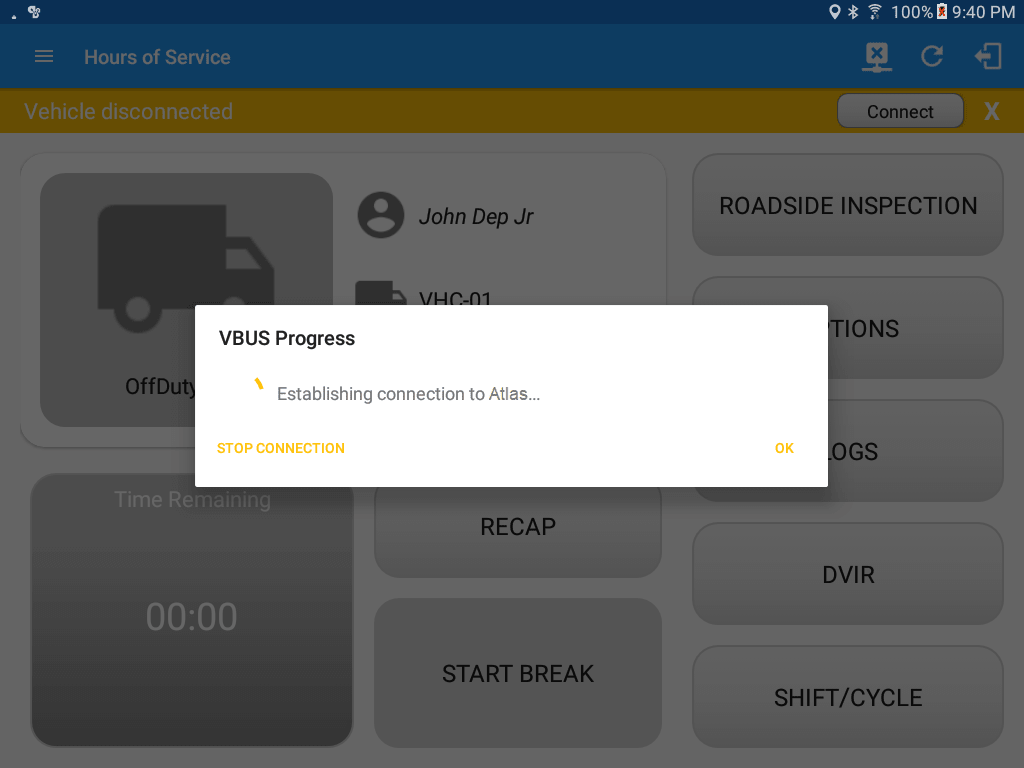
- It will then display the VBUS Progress dialog upon establishing a connection to the selected VBUS device along with a ‘Stop Connection’ and ‘Ok’ buttons:
- Tap ‘Stop Connection’ button to stop establishing VBUS connection.
- Tap OK button to hide the VBUS Progress dialog while establishing VBUS connection.
- If the VBUS connection results to an error (given the following situations below), an error dialog will display.
- VBUS Data Error
- Interrupted Internet Connection
- VBUS Power Failure
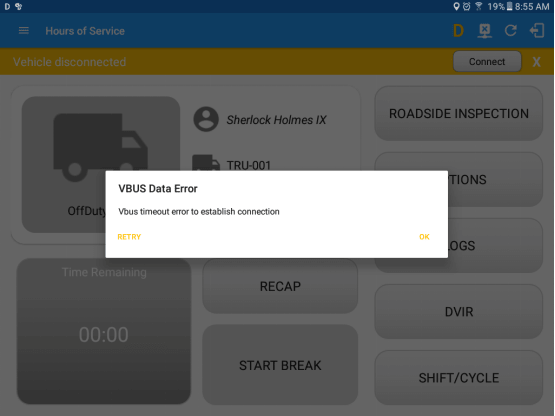
Note: The app will automatically disconnect from the device after attempting to connect for 1 minute and 30 seconds without receiving any data from the VBUS device.
- VBUS Data Error
- Upon establishing a connection to the VBUS device you should hear a tone letting you know that device is now connected.
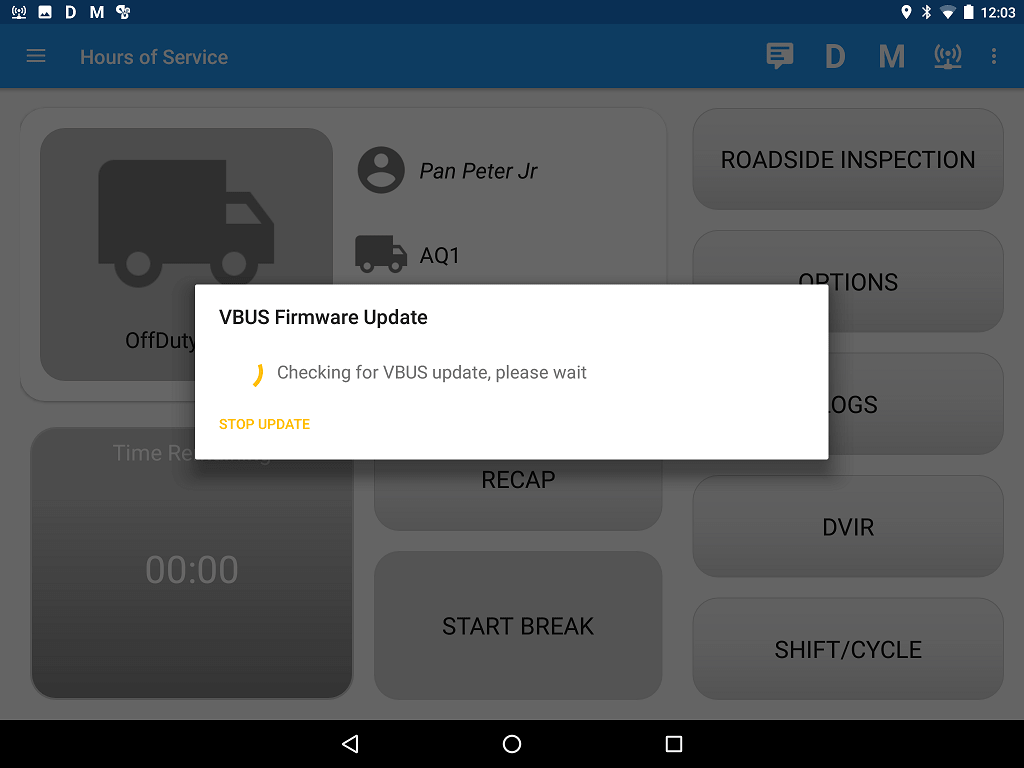
- When the app is successfully connected to the VBUS device, the Update Firmware dialog will then be displayed to check if there are any firmware updates
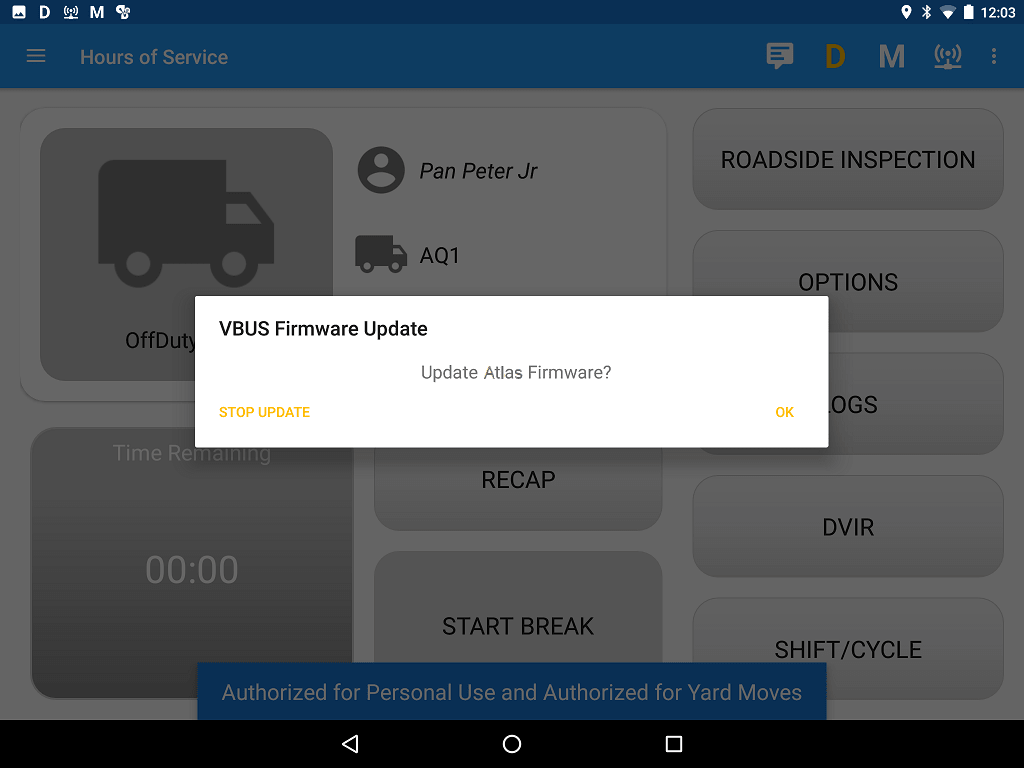
- After checking VBUS update, if there’s an update available, a dialog will then be displayed asking if you want to “Update Atlas Firmware?” along with ‘Stop Update’ and ‘OK’ buttons.
- Once OK button is tapped, a dialog for updating the VBUS firmware will then be displayed.
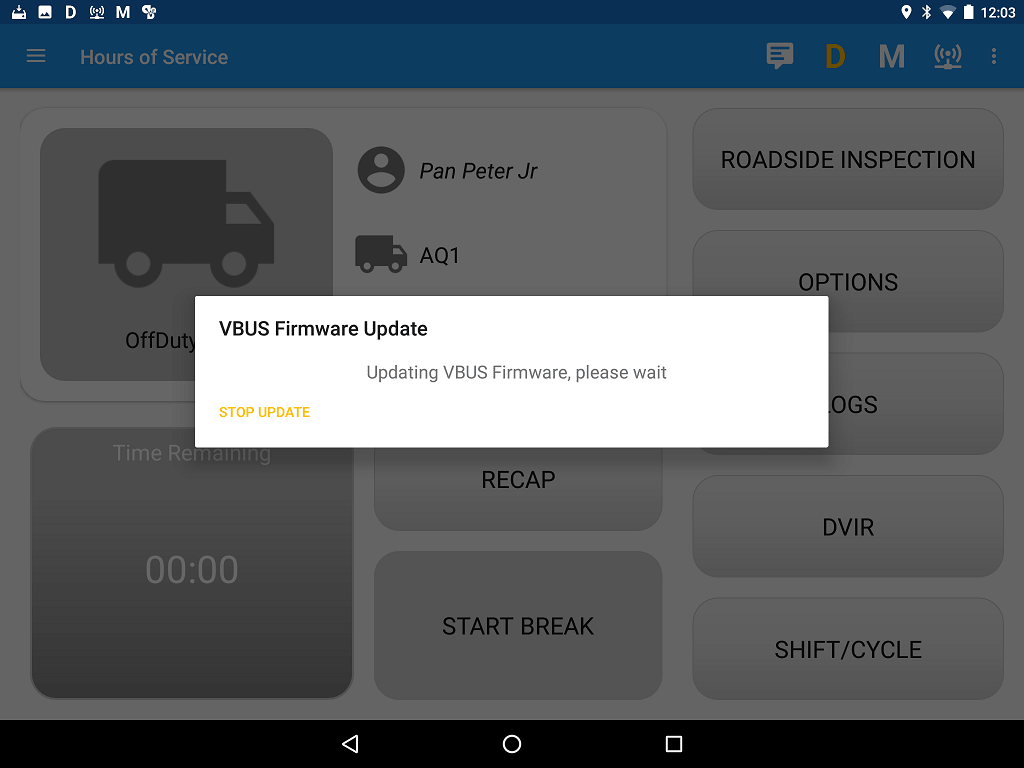
- Upgrading of the latest Atlas Firmware will then start and can be seen the progress in the Android Notification bar.

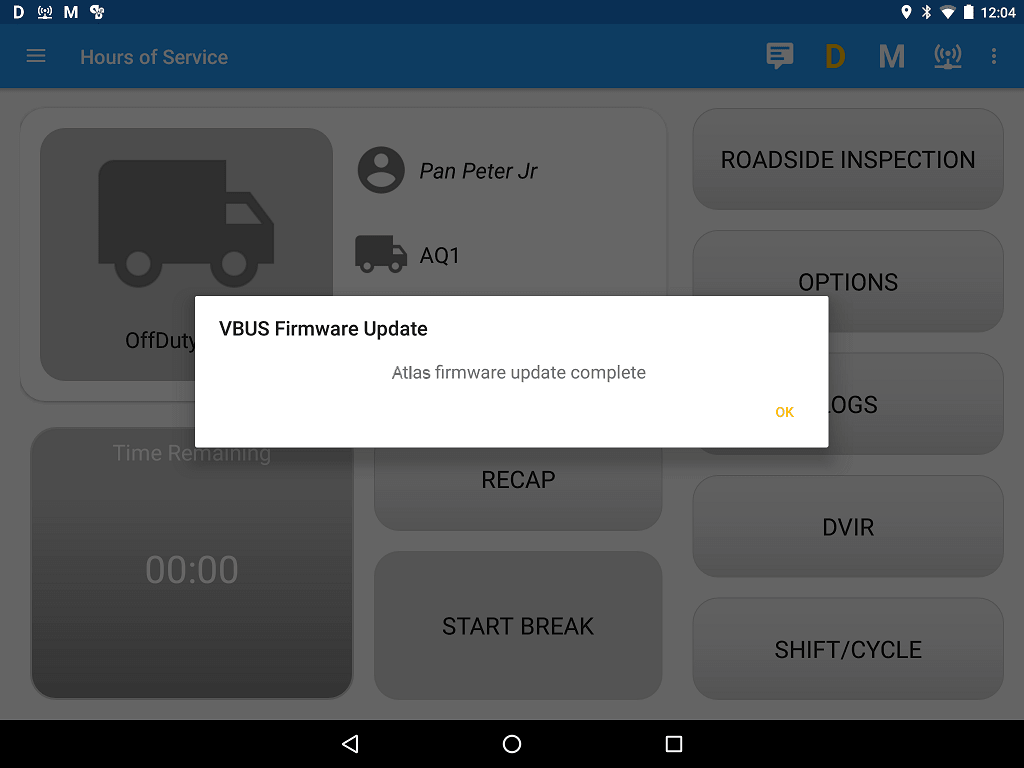
- When the update is completed, a confirmation dialog will be displayed stating: “Atlas firmware update complete.”
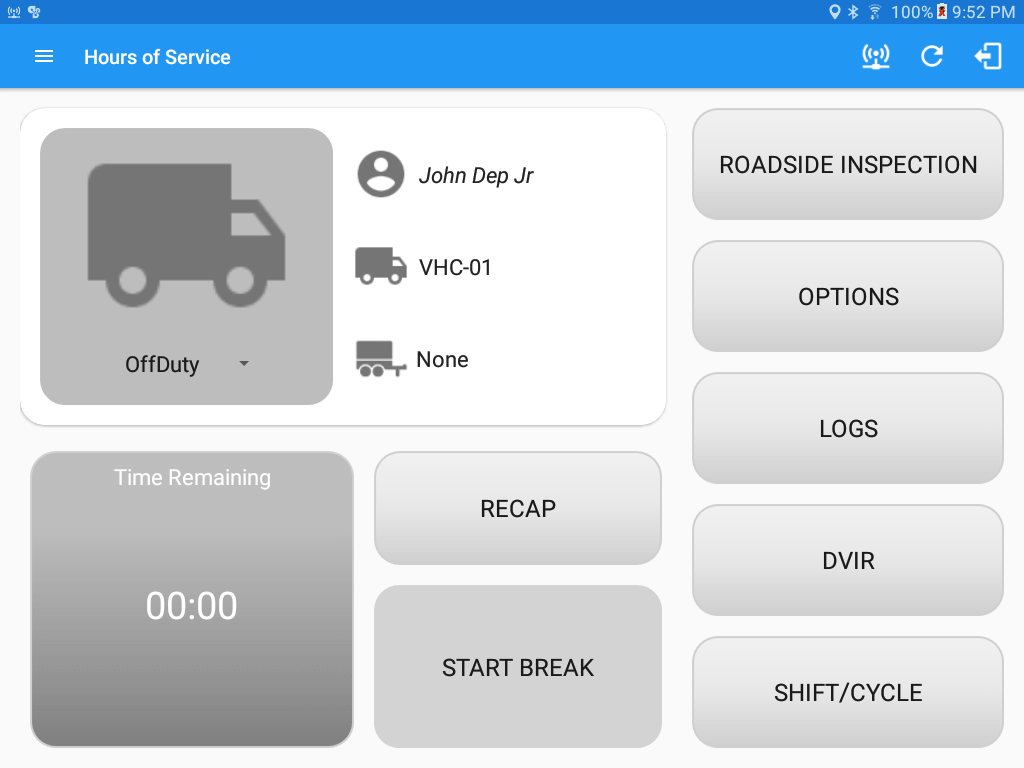
- To check if you are connected, navigate to the Main Dashboard and the VBUS status indicator should be displayed as “Connected”
 which is located on the app header.
- You can also check on the Android Notification Bar and you should see the VBUS Service status as “Connected”
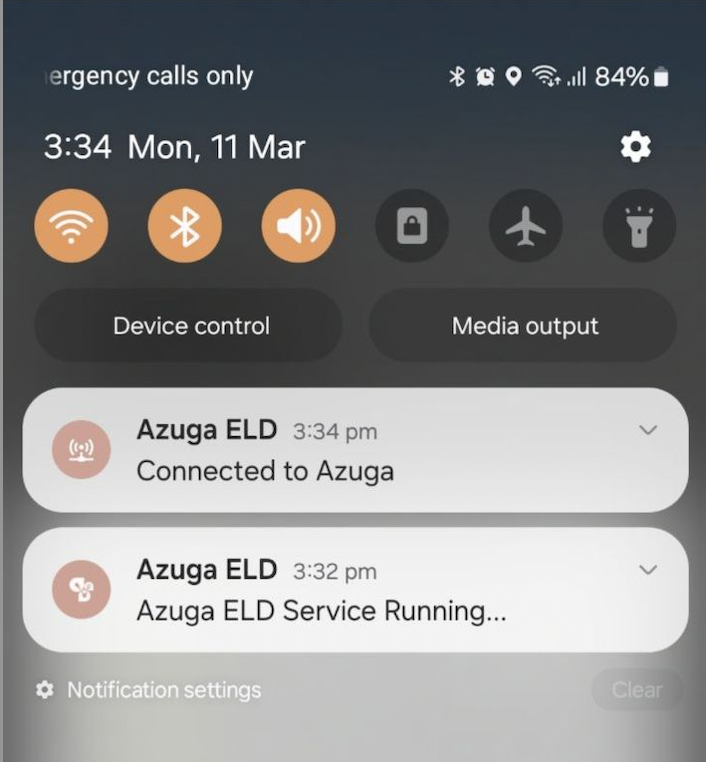
- The device and the application are now connected.
- Tap on the ‘Manual Connection’ button
- Auto Connection
- Tap on the Connect button
- The VBUS Progress dialog will then display
- Upon establishing a connection to the VBUS device, You should hear a tone letting you know that device is now connected.
- Prerequisites to successfully perform Auto Connection
- Create a Pre-configured device in the Portal’s Equipment Management Page or in the App’s Manage Vehicles/Trailers screen
- Set the ELD Configurations
Note: Only users allowed to Manage Equipment can create equipment in the app.
- Prerequisites to successfully perform Auto Connection
- Manual Connection