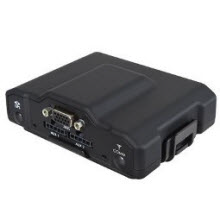
Step 1 – Connect the device using an CalAmp 4230 to Jpod Y-cable 5C909-2 REV C.
 |
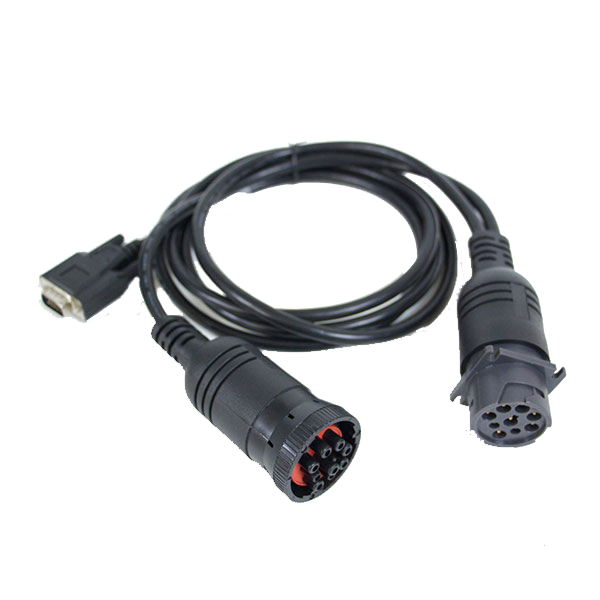 |
- The device plugs directly into the Jpod adapter cable. The cable then plugs into the vehicle’s J1939 socket. The device does not need special prerequisites or installation from authorized personnel.
- After the device is plugged into the socket, the yellow and red LED starts blinking with 1Hz rate. This means the device is powered and operational.
Step 3 – Pair your Android phone or tablet with the CalAmp device.
- Upon completion of Step 2 above, the Android phone or tablet should display a list of available Bluetooth devices. In case the list is not available, tap on the “Scan for Devices” or “Search” button.
- After a 5-10 second delay, the “LMU_XXXXXXXX” device should appear on the list of the Available Devices. If the device is not available in the list, make sure you are in close proximity to the CalAmp 4230 device (less than 32 feet or 10meters), and the CalAmp 4230 device is powered on (see Step 1 above).
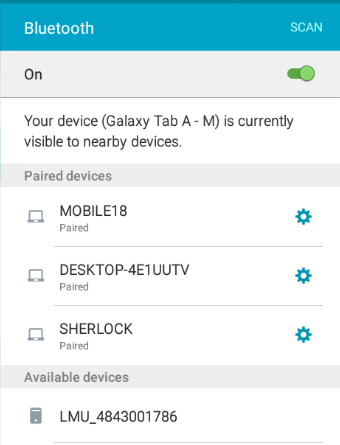
- Tap on the “LMU_4843001786” device (in the example above), then the device goes into pairing mode and the “Pairing…” message is displayed.
- By default the CalAmp device does not require any PIN configurations. After a few seconds, the pairing process should complete, and “LMU_4843001786” will appear in the list of “Paired Devices.”
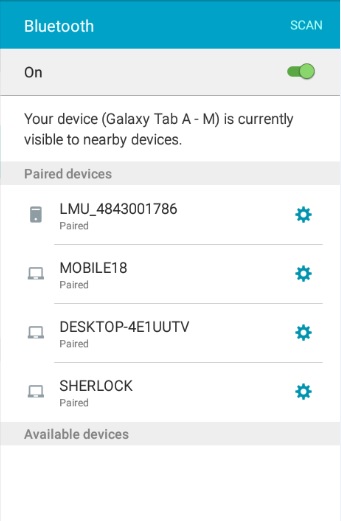
- You can rename the paired “LMU_4843001786” device into something more meaningful, like “Truck 1” if you prefer. Tap on the blue gear button () to “Rename” or “Unpair” the device.
Step 4 – Use the Azuga ELD Mobile App with the paired CalAmp 4230 device.
- Open Azuga ELD app (or Branded App)
- Tap on the VBUS icon (or Tap the Connect button on the Connection bar)
- At this point, 2 options were present in order to establish a connection to the VBUS device: Manual Connection and Auto Connection.
- Manual Connection
- Tap on the Manual Connection button
- Select VBUS Device - CalAmp LMU 4230
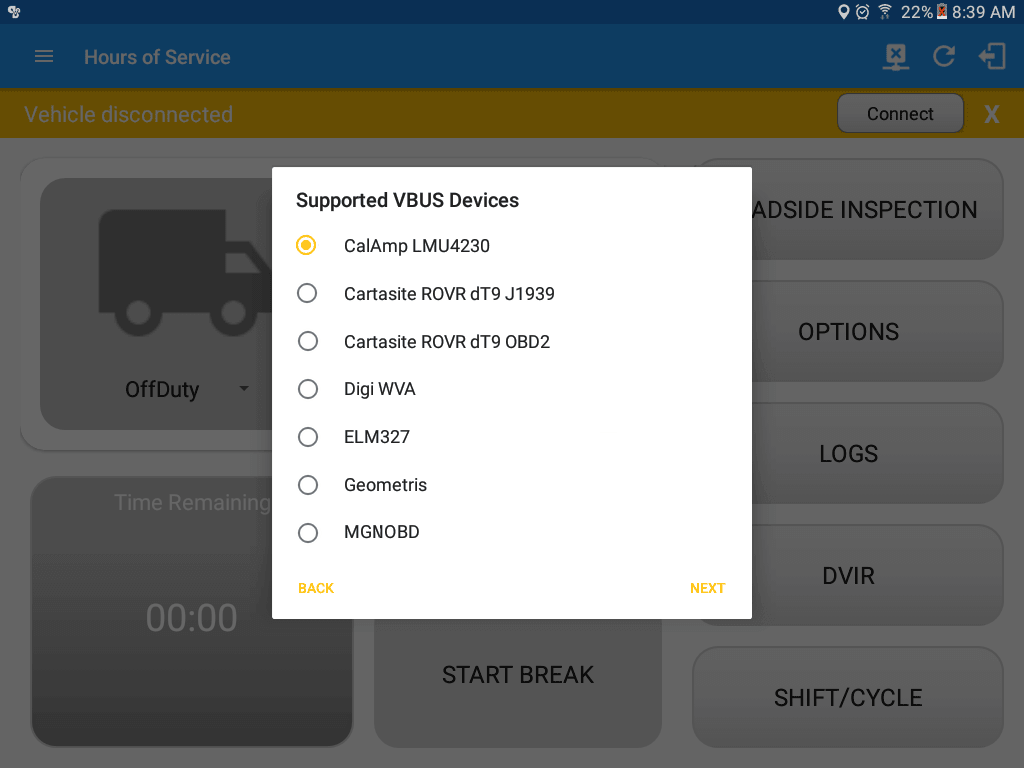
- Tap on the Next button
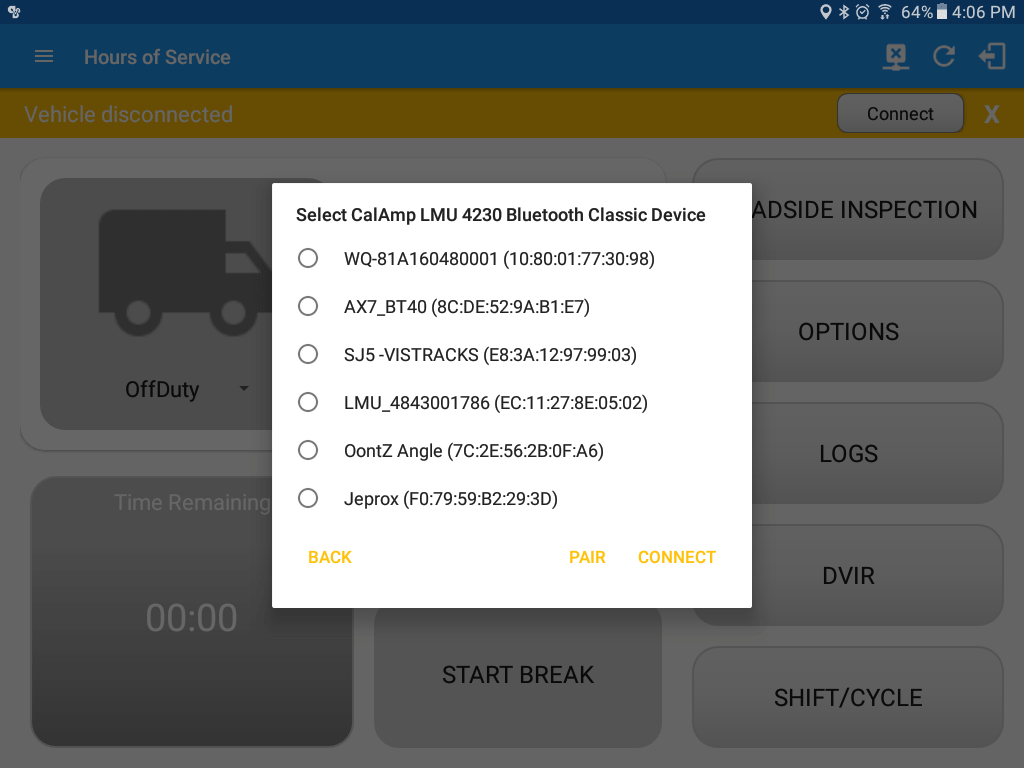
- It will then display the list of available devices along with the following buttons:
- Back button - tapping this button will go back to the previous Supported VBUS devices dialog
- Pair button - tapping this button will open the Android Device Settings > Bluetooth screen, to be able to pair devices
- Connect button - Select ‘LMU_4843001786’ from the device list then tap the Connect button.
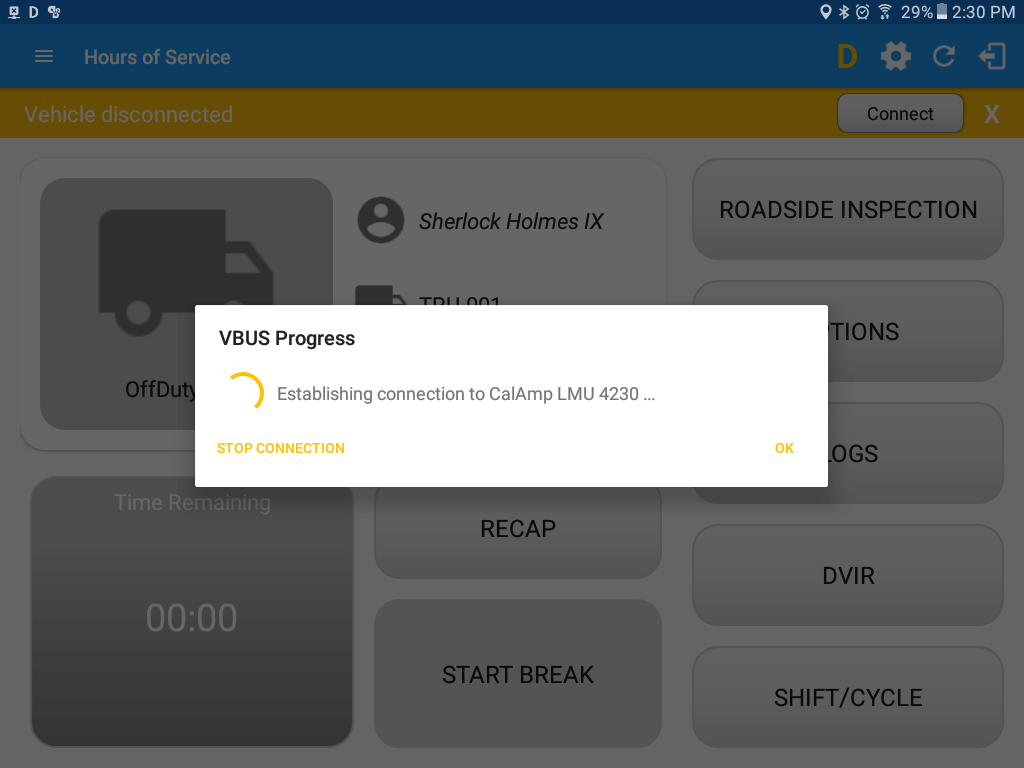
- It will then display the VBUS Progress dialog upon establishing a connection to the selected VBUS device along with a ‘Stop Connection’ and ‘Ok’ buttons
- Tap ‘Stop Connection’ button to stop establishing VBUS connection.
- Tap OK button to hide the VBUS Progress dialog while establishing VBUS connection.
► If the VBUS connection results to an error (given the following situations below), an error dialog will display.
- VBUS Connection Error
- Interrupted Internet Connection
- VBUS Power Failure
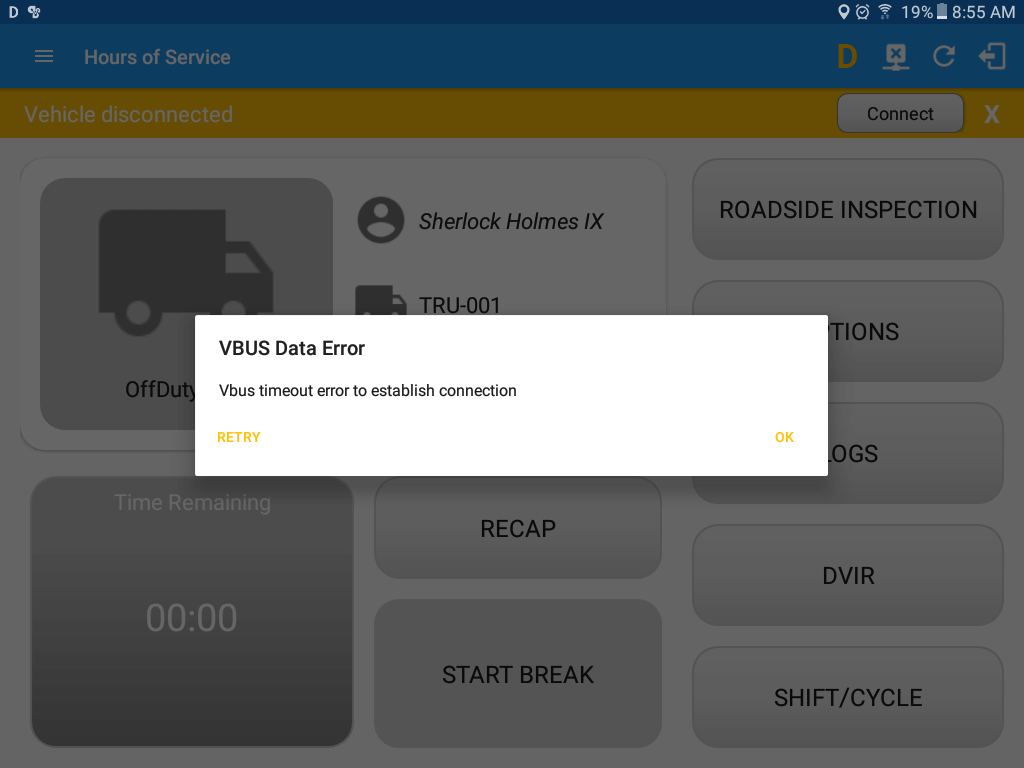
Note: The app automatically disconnects from the device after attempting connection for 1 minute and 30 seconds without receiving any data from the VBUS device.
- VBUS Connection Error
- After a successful VBUS connection, You should hear a tone letting you know that device is now connected.
- To check if you are connected, go to the Android Notification Bar and you should see the following message.
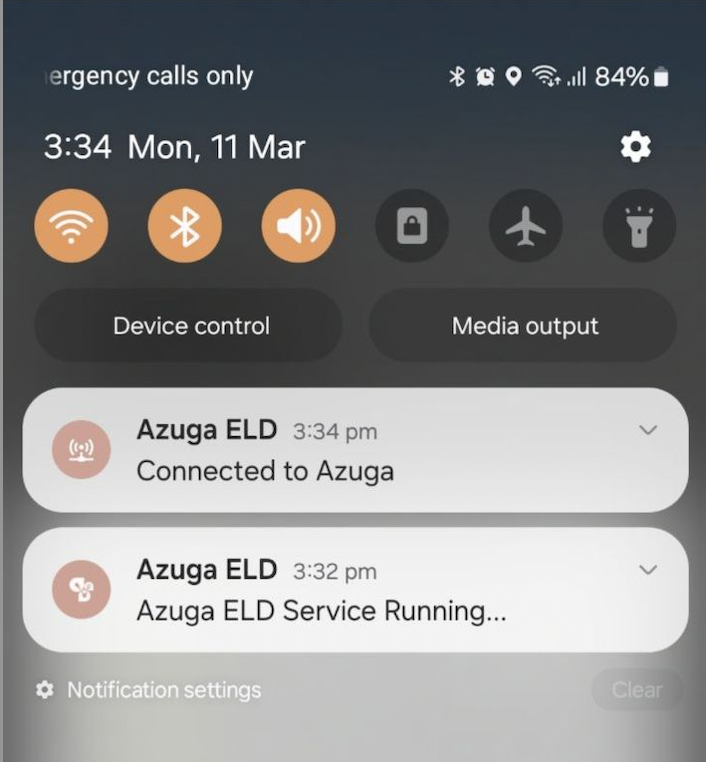
- Check also that the VBUS indicator is now changed to a WiFi icon (during successful connection)
- The device and the application are now connected.
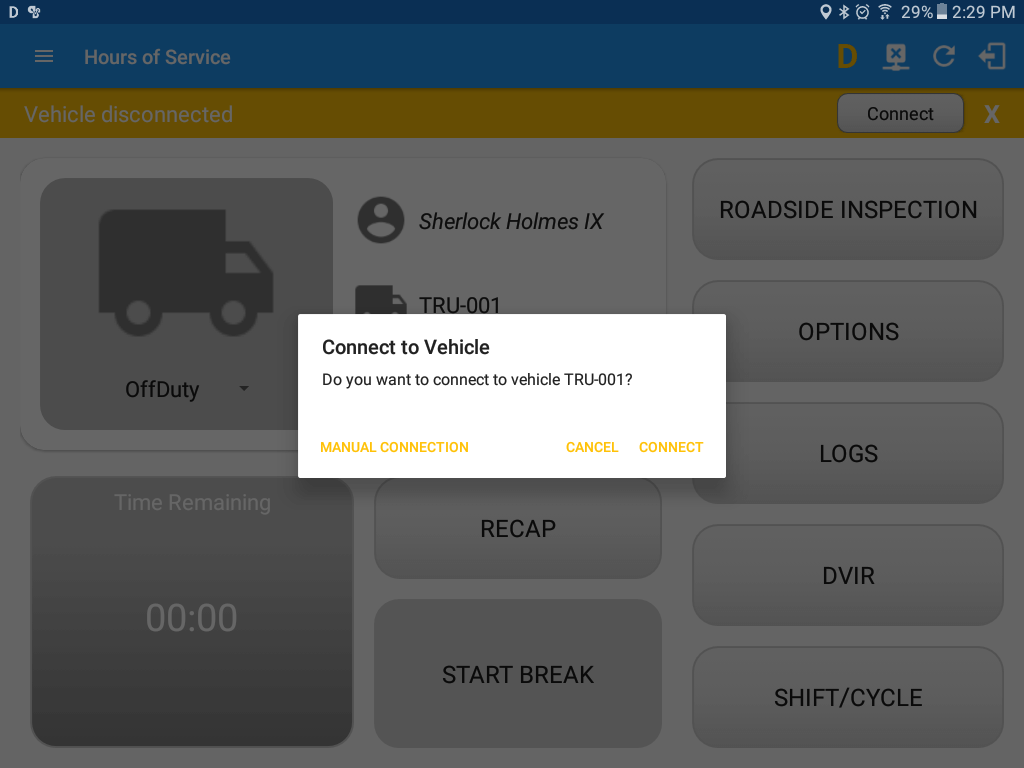
- Auto Connection
- Tap on the Connect button
- The VBUS Progress dialog will then display
- Upon establishing a connection to the VBUS device, You should hear a tone letting you know that device is now connected.
- Prerequisites to successfully perform Auto Connection
- Create a Preconfigured device in the Portal’s Equipment Management Page or in the App’s Manage Vehicles/Trailers screen
- Set the ELD Configurations
- Prerequisites to successfully perform Auto Connection
- Manual Connection