Download a PDF version of this.
Step 1 – Connect the device using Geotab to J1939 Adapter Cable
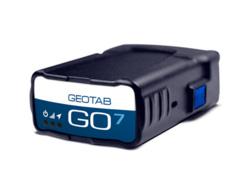
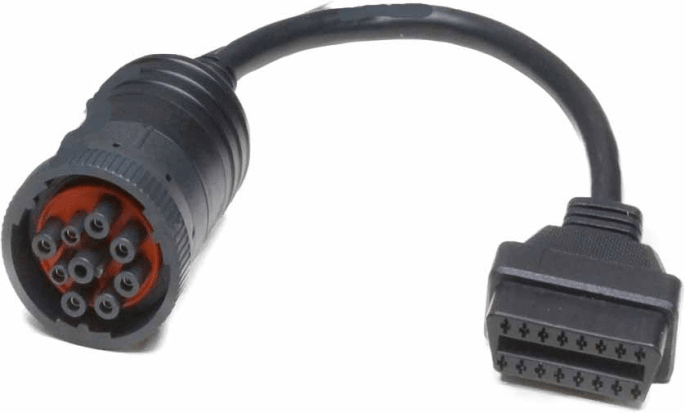
- The Geotab device plugs directly into the J1939 adapter cable. The cable then plugs into the vehicle’s J1939 socket.
- After the device is plugged into the socket the blue and red LED starts blinking along with the beep which can be heard once.
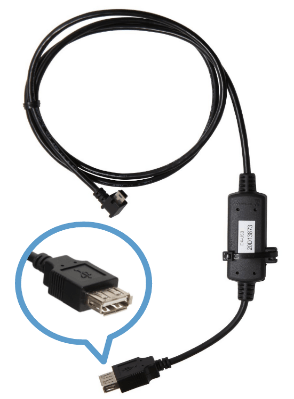
Step 2 – Connect the one end of IOX-USB to the Geotab and by using USB cable connect it to the tablet.
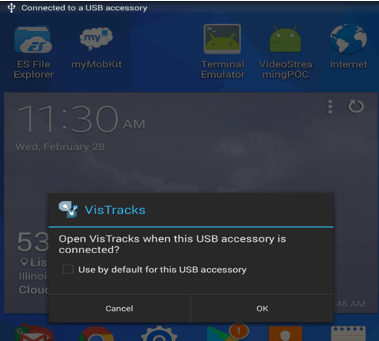
- After connecting the USB cable to the tablet, there would be a dialog box coming up asking for the permission, press OK. And then it will open the Azuga ELD app.
Step 3 – Login to the device and manage the equipment
- On Azuga ELD app, tap on the Vehicles name, then Manage the equipment and enable “Use Calculated Engine Hours”.
- Save the changes made.
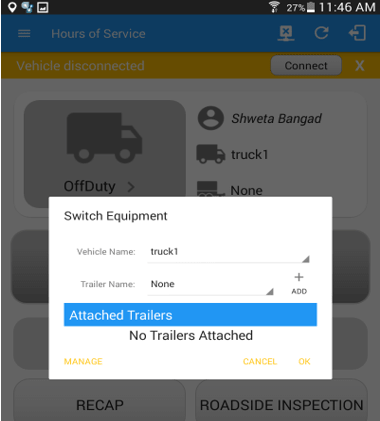
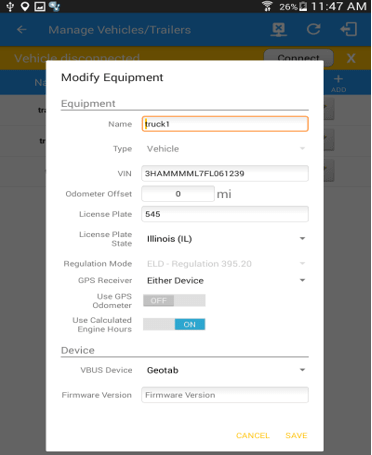
Step 4 – Connecting the device to the Azuga ELD app.
- Turn on the Engine of the vehicle.
- On the Azuga ELD app, on the main dashboard, tap the ‘Connect’ button which is located below the app header to display the ‘Connect to Vehicle’ dialog.
- At this point, 2 options were present in order to establish a connection to the VBUS device: Manual Connection and Auto Connection.
- Auto Connectionn
- Tap on the Connect button
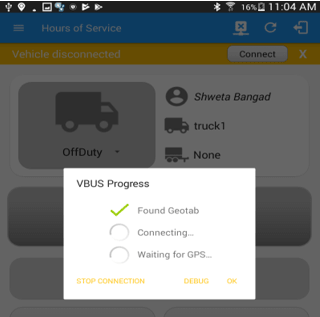
- The VBUS Progress dialog will then display with 3 options:
- Stop connection: button to stop establishing VBUS connection.
- Debug: button to see the debug screen
- OK: button to go to main screen
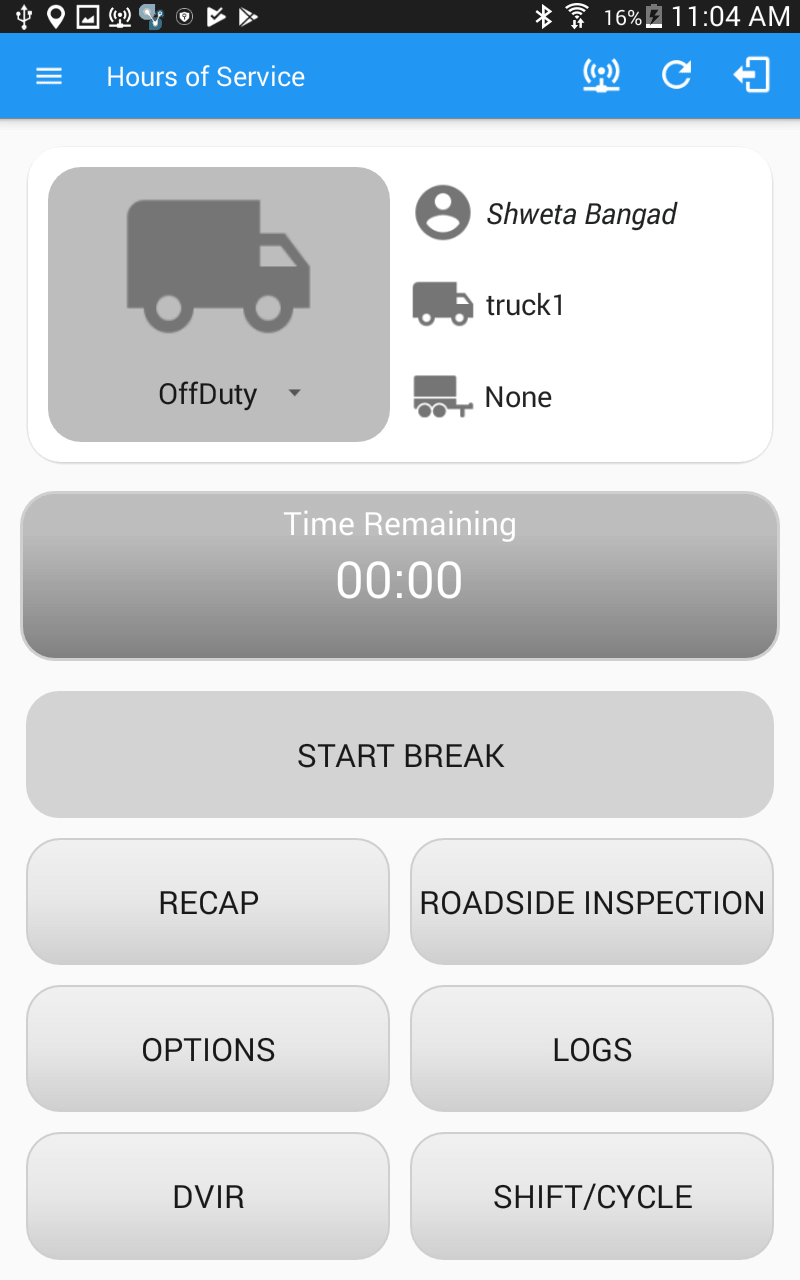
- Upon establishing a connection to the VBUS device, you should hear a tone letting you know that device is now connected.
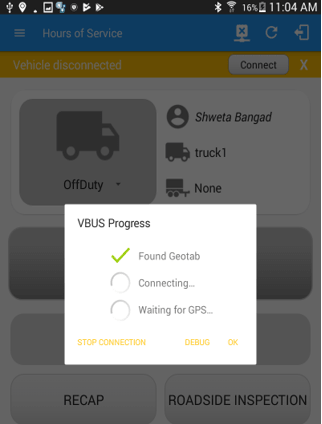
- Manual Connection
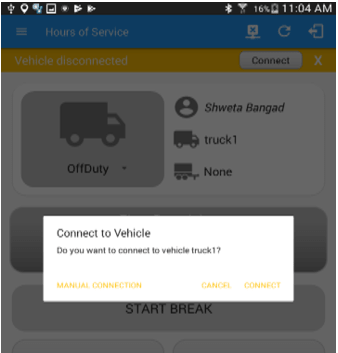
- Hit the Manual Connection button
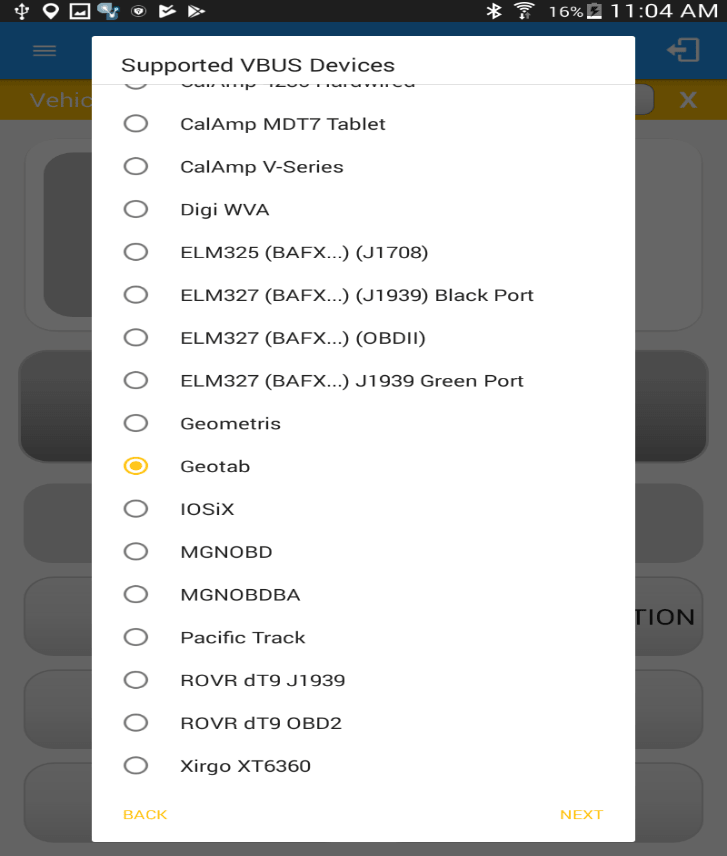
- Select VBUS-Device – “Geotab”
- Tap on the Next button
- The VBUS Progress dialog will then display with 3 options:
- Stop connection: button to stop establishing VBUS connection.
- Debug: button to see the debug screen
- OK: button to go to main screen
- After a successful VBUS connection, You should hear a tone letting you know that the device is now connected.
- Auto Connectionn
